Cyclone MXI

Cyclone Mxi

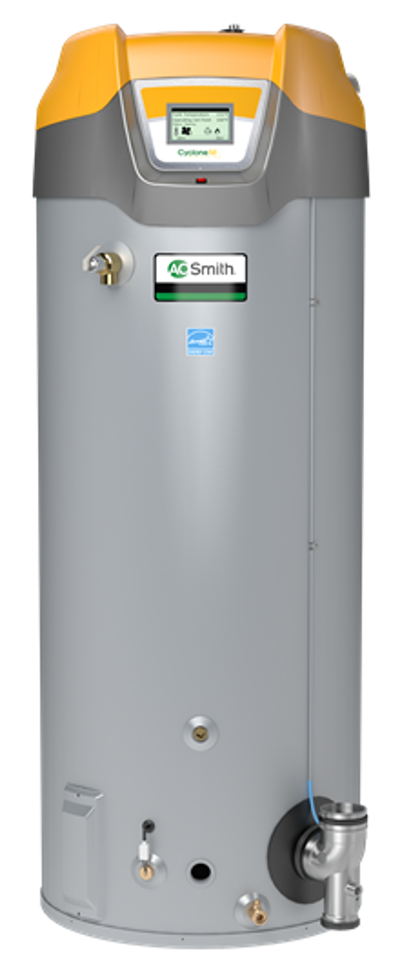
The Cyclone MXi is the industry-leading line of high-efficiency condensing gas commercial water heaters.

The 300 series is compatible with the all-new iCOMM™, which offers Wi-Fi connectivity and a robust set of remote management and monitoring features.

Product Page »

Cyclone Mxi

iCOMM™ Mobile App

The all-new iCOMM service from A.O. Smith lets you monitor and manage your water heater remotely via the A.O. Smith mobile app.

  1. Download the app

    The iCOMM remote management functionality is now available in the A.O. Smith mobile app.


  2. Create an account

    All you need to get started is an e-mail address and a password.

  3. Connect to Wi-Fi

    The app will guide you to connect the  water heater to the building’s Wi-Fi network.

  4. Connect to iCOMM

     The app will guide you to connect the water heater to the iCOMM service.

Cyclone Mxi

Features & Benefits

    Intelligent Control Systems with LCD Display

  • Exclusive A. O. Smith designed control system
  • Provides detailed water heater status information
  • Precise temperature control adjustable from 90 to 180 degrees
  • Built-in diagnostics
  • Run history information
  • Cyclone water heaters are iCOMMTM compatible and can be monitored from remote locations. Call 1.888.WATER02 for more information.
  • Submerged Combustion Chamber, with Helical Heat Exchanger Coil

  • Positioned in center of tank, surrounded by water to virtually eliminate radiant heat loss from chamber
  • Direct spark ignition
  • Spiral heat exchanger keeps hot burner gases swirling, uses centrifugal force to maximize efficiency of heat transfer to water in tank
  • Spiral heat exchanger reduces lime scale from forming on water-side surfaces, which maintains energy efficiency over time
  • Powered Anodes Standard On All Models

  • Provides long-lasting tank protection in varying water conditions
  • Powered anodes are non-sacrificial
  • Automatically adjusts output needed to properly protect the tank
  • Permaglas® Ultra Coat™ Glass Lining

  • Glass coating is applied using a liquid slush coating technique to ensure uniform coating
  • Heat exchanger coil is glassed both externally and internally for optimum protection
  • Mechanical Venting Versatility

  • Conventional power-venting or sealed combustion direct venting
  • Vents vertically or through a sidewall
  • Front located exhaust and condensate connections allow for easy install and access
  • Vents with low cost PVC intake and exhaust pipe. Approved for optional CPVC, ABS, Polypropylene and AL29-4C stainless vent materials
  • Direct-vent intake and exhaust pipe can terminate separately outside building, or through single opening, using concentric vent assembly
  • Canadian installations require ULC S636 PVC/CPVC, ULC S636 Polypropylene and AL29-4C stainless steel pipe for intake and exhaust
  • High Efficiency Modulating Pre-Mix Powered Burner

  • Down-fired pre-mix burner provides optimum efficiency and quiet operation
  • Top-mounted burner position prevents condensation from affecting burner operation
  • Space-Saving Design for Installation Flexibility

  • Reduced footprint, ease of service, protection from water damage in case of flooding
  • Easy to remove top cover for convenient access to serviceable parts
  • 0" installation clearances on sides and rear, 1-1/2" installation clearance on top, 4" alcove installation clearance in front Handhole cleanout of unit
  • Handhole cleanout allows easy acess to tank interior for cleaning
  • 0" clearance to combustinbles, approved for installation on combustible floors
  • Codes and Standards

  • CSA certified and ASME rated T&P relief valve
  • Maximum hydrostatic working pressure: 160 PSI
  • All models are design certified by Underwriters Laboratories (UL), Inc., to ANSI Z21.10.3 - CSA 4.3 Standards
  • Meets the thermal efficiency and standby loss requirements of the U.S. Department of Energy and current edition ASHRAE/IESNA 90.1
  • Design-certified by Underwriters Laboratories to NSF standard 5 for 180°F (62°C) water
  • Complies with SCAQMD Rule 1146.2 and other Air Quality Management Districts with similar requirements for low-NOx emissions
  • ASME tank construction optional on 120-500 model sizes
  • Three-Year Limited Tank Warranty

  • For complete warranty details, consult written warranty shipped with heater, or contact A. O. Smith (5-year tank extended warranty is optional).

Cyclone Mxi

Installation Checklist

This unit has several new features. Before installing, read the Installation Manual and follow all safety warnings and installation instructions.

  1. Venting

    Make sure the Intake and Exhaust vent pipes do not exceed the lengths listed in the Installation Manual. Plastic elbows are the equivalent of five feet of straight pipe. Make sure the debris screen has been removed from the Intake vent If the unit will be Direct Vented (outside air).

  2. Gas Supply

    The unit's Data Plate lists the BTU input and minimum gas pressure requirements. Make sure the gas pipe size and length is correct for the BTU input listed on Data Plate Make sure the gas pressure regulator is adequate for the BTU input listed on Data Plate. Check gas supply pressure with a gas pressure gauge. See Installation Manual for details.

  3. Condensate Drain

    Make sure the Condensate Drain pipe slopes to an adequate drain. See Installation Manual for construction details.

  4. Electrical Supply

    Ensure that the electrical power supply has been installed according to the instructions in the Installation Manual. This unit must be properly grounded.

  5. Enable/Disable Switch

    The switch in front of the LCD display is an "Enable/Disable" switch. It does not turn power off to the main circuit board. If the LCD display says "Water Heater Disabled," press the Enable switch on the front of the unit to allow water heater to operate.

Cyclone Mxi

Troubleshooting

The switch in front of the LCD display is an "Enable/Disable" switch. It does not turn power off to the main circuit board. If the LCD display says "Water Heater Disabled," press the Enable switch on the front of the unit to allow water heater to operate. Turn electrical power off at the source when necessary for service.

If the LCD display shows an error message, read and follow the Advanced troubleshooting screens on the LCD display. The Installation Manual also contains detailed troubleshooting information. If you need additional help, use the following resources:

  • Blocked Air Intake
  • Blocked Exhaust
  • Low Gas Pressure
  • Blower Prover Failure
  • Blower Operation Not Detected
  • Ignition Failure